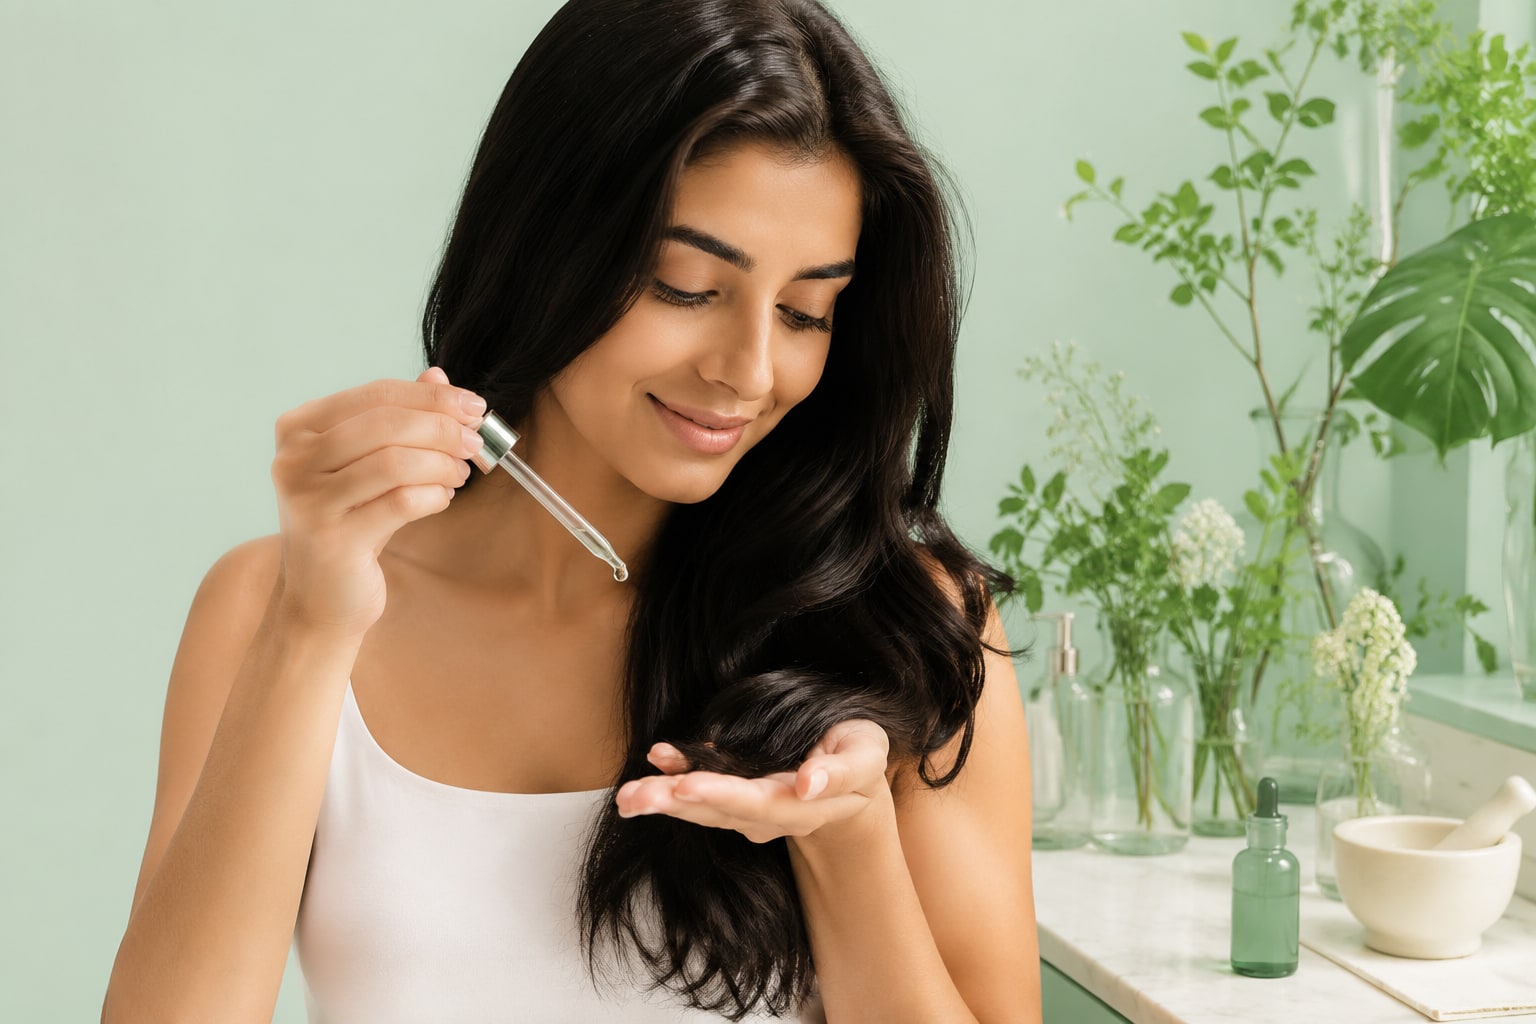
How-To
Humidity-Proof Hair Routine — Step by Step
Full wash-day and styling sequence to block moisture at the cuticle when relative humidity rises.
Frizzy Hair
How-To · Updated July 2026
Master diffuser attachment, heat settings, and motion to dry curls fast without breaking clumps.
Frizz happens when wet, raised cuticles meet uncontrolled airflow or touch—and diffusing replaces both with directed, lower-velocity warm air that dries hair faster while preserving clumps. Done poorly, diffusers create frizz through high heat and bowl-scrambling; done well, they are among the best humidity defenses for wavy, curly, and coily hair.
You are closing the vulnerable wet window, not cooking your pattern.
Wet cuticles absorb humidity vapor instantly. Long air-dry times in muggy rooms extend exposure. Diffusers:
Tool context: products tools.
Base routine: wash day frizz control.
Phase 1 — Hover (5–8 minutes): Hold diffuser two to three inches from hair without contact. Low or medium heat. Move slowly around head. Sets outer gel layer without disturbing clumps.
Phase 2 — Cup scrunch (10–15 minutes): Turn off heat briefly; scoop sections into bowl. Turn heat on low; hold still ten to twenty seconds per section. Release; repeat. Do not jostle bowl aggressively.
Phase 3 — Cool shot: Seal cuticle with cool air one to two minutes.
| Texture | Heat | Motion |
|---|---|---|
| Fine wavy | Low | Hover only; minimal cup |
| Medium curly | Medium-low | Hover + gentle cup |
| Coily | Medium | Section cup; more time per section |
Fine hair poof caution: poof volume guide.
Full comparison: air dry vs diffuser frizz.
Humidity-heavy routines: pair with humidity-proof routine.
When fully dry, optionally scrunch out cast if crunchy. Micro-dose serum on palms for shine—not before fully dry.
Overnight: overnight frizz protection.
Diffuser technique controls wet-phase frizz by hovering first, cup-scrunching gently on low heat, and finishing cool. Dry completely indoors before humid exposure. Fast, gentle drying beats long vulnerable air dries on curl patterns.
Low-density curly hair dries faster but frizzes if heat stays too long on any section. Move the diffuser every fifteen to twenty seconds during cup scrunching. High-density coily hair needs longer holds per section—up to thirty seconds—because inner layers stay wet longest. Listen for the sound change: when sizzling stops, that section is approaching dry.
If you plop five to fifteen minutes after applying gel, diffusing starts from a more uniform moisture level. Skip plopping on extremely short hair where clumps are already tight. Always diffuse in a room with stable temperature; bathroom steam adds humidity mid-dry and can re-open cuticles on partially set gel.
Hotel blow-dryers often lack diffusers. Pack a collapsible universal diffuser attachment if humidity is a travel concern. After gym showers, at minimum microfiber dry and apply leave-in before walking outside—even without full gel—to reduce the worst vapor uptake on open cuticles.
Document hair at the same time of day under similar indoor lighting weekly. Compare photos before changing products again. Frizz improvement is often incremental—half-point reduction in daily touch-ups counts as success. Share notes with stylist so trims and chemical services align with your frizz cause profile.
Social media often recommends single-product miracles without cause context. If a creator has fine 2A hair, their humidity routine may fail on 3B high-porosity hair. Borrow techniques, not exact products, unless cause and texture match yours closely.
High heat, rough insertion into the bowl, and touching hair before dry cause frizz. Hover diffusing with low heat reduces frizz versus uncontrolled air drying in humidity.
Low or medium heat with cool finish is safest for most textures. High heat speeds drying but increases cuticle stress and frizz risk.
Upside-down diffusing lifts roots but can frizz fine or wavy hair at the crown. Hover right-side up first; flip briefly only if you need root volume.
In humidity, diffusing shortens the damp exposure window. See our air dry vs diffuser comparison for trade-offs.
Weekly frizz fixes — no spam.
Full wash-day and styling sequence to block moisture at the cuticle when relative humidity rises.
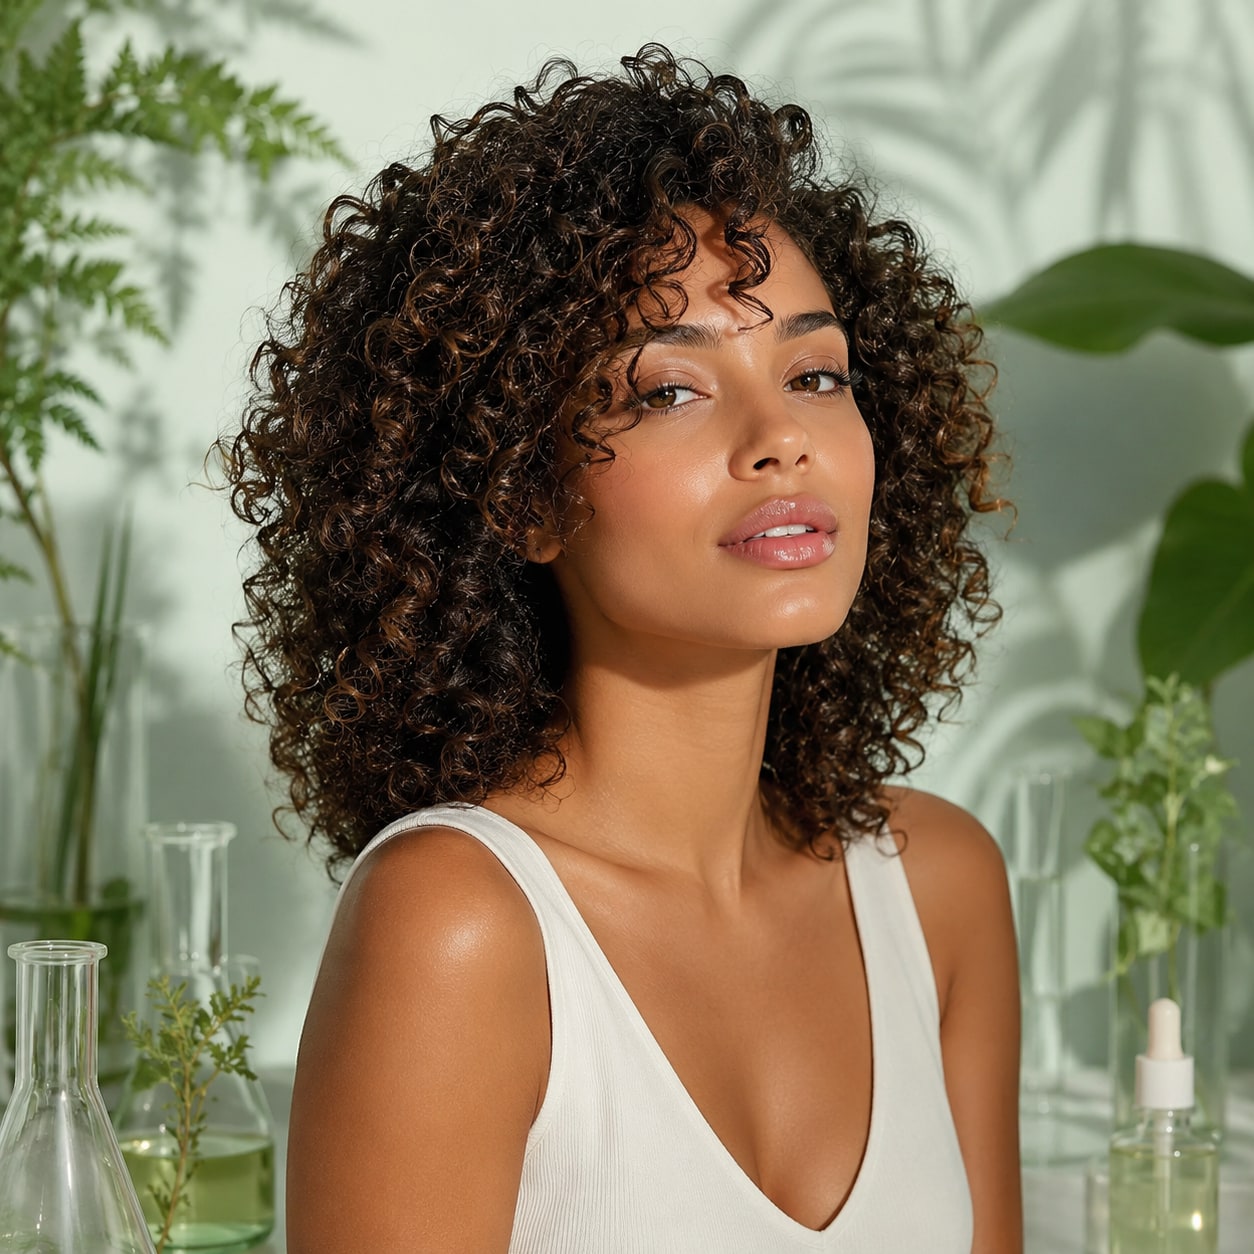
Use a T-shirt or microfiber plop to encourage curl clumps and cut down frizz during wet drying.
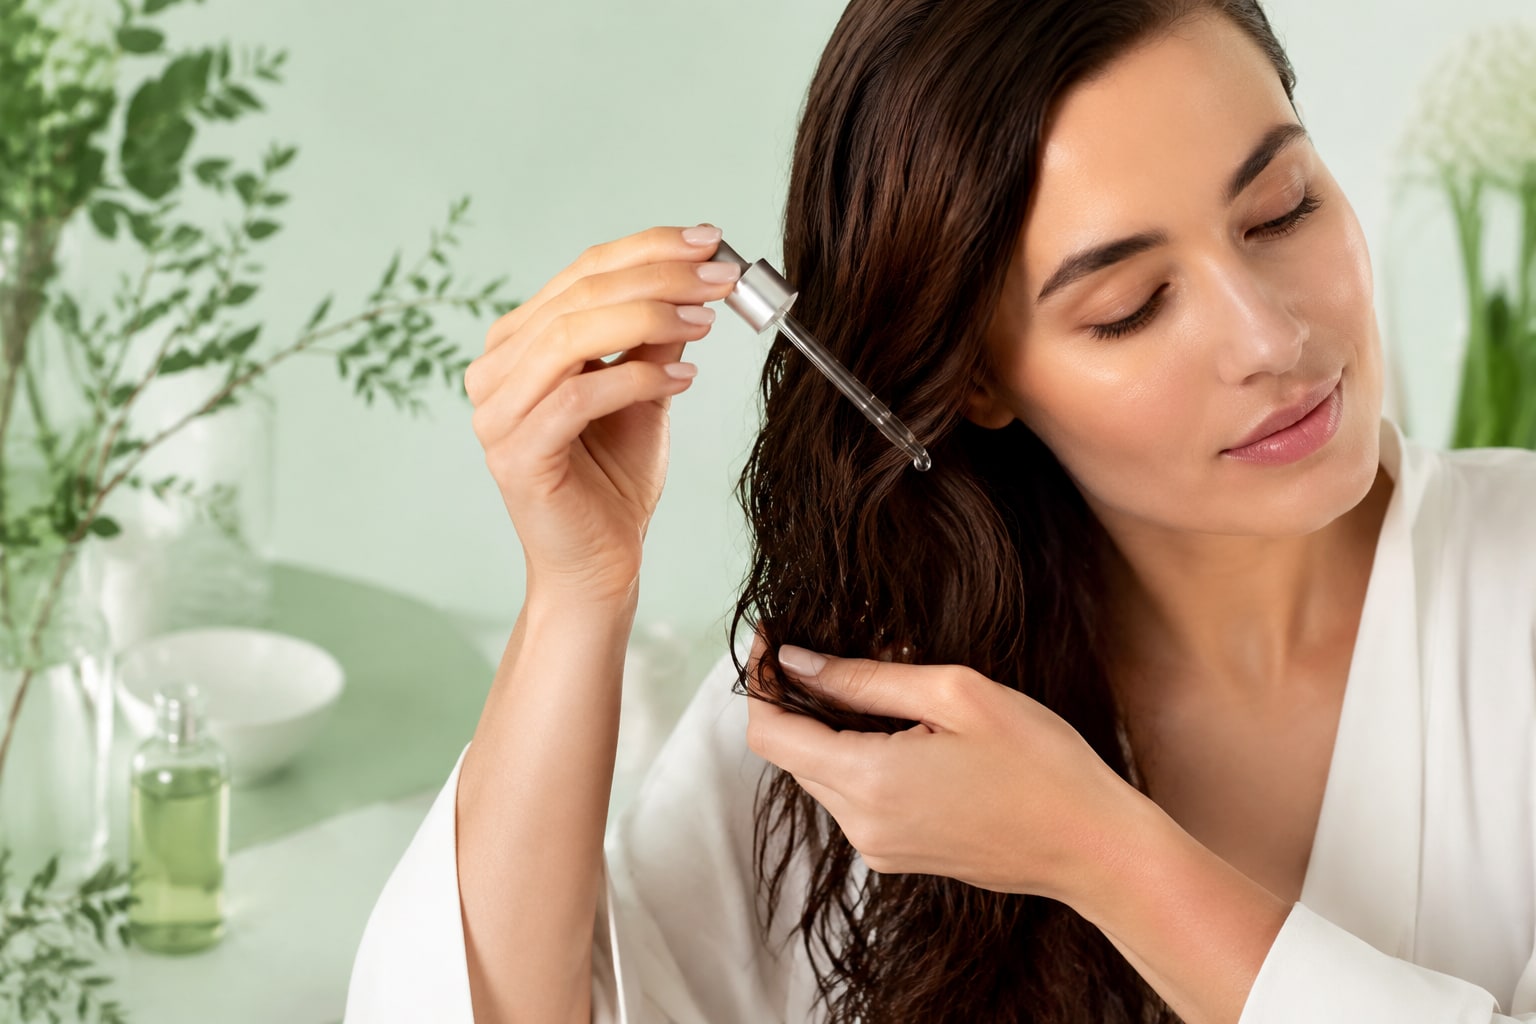
How silk and satin reduce overnight friction that lifts cuticles and causes morning flyaways.